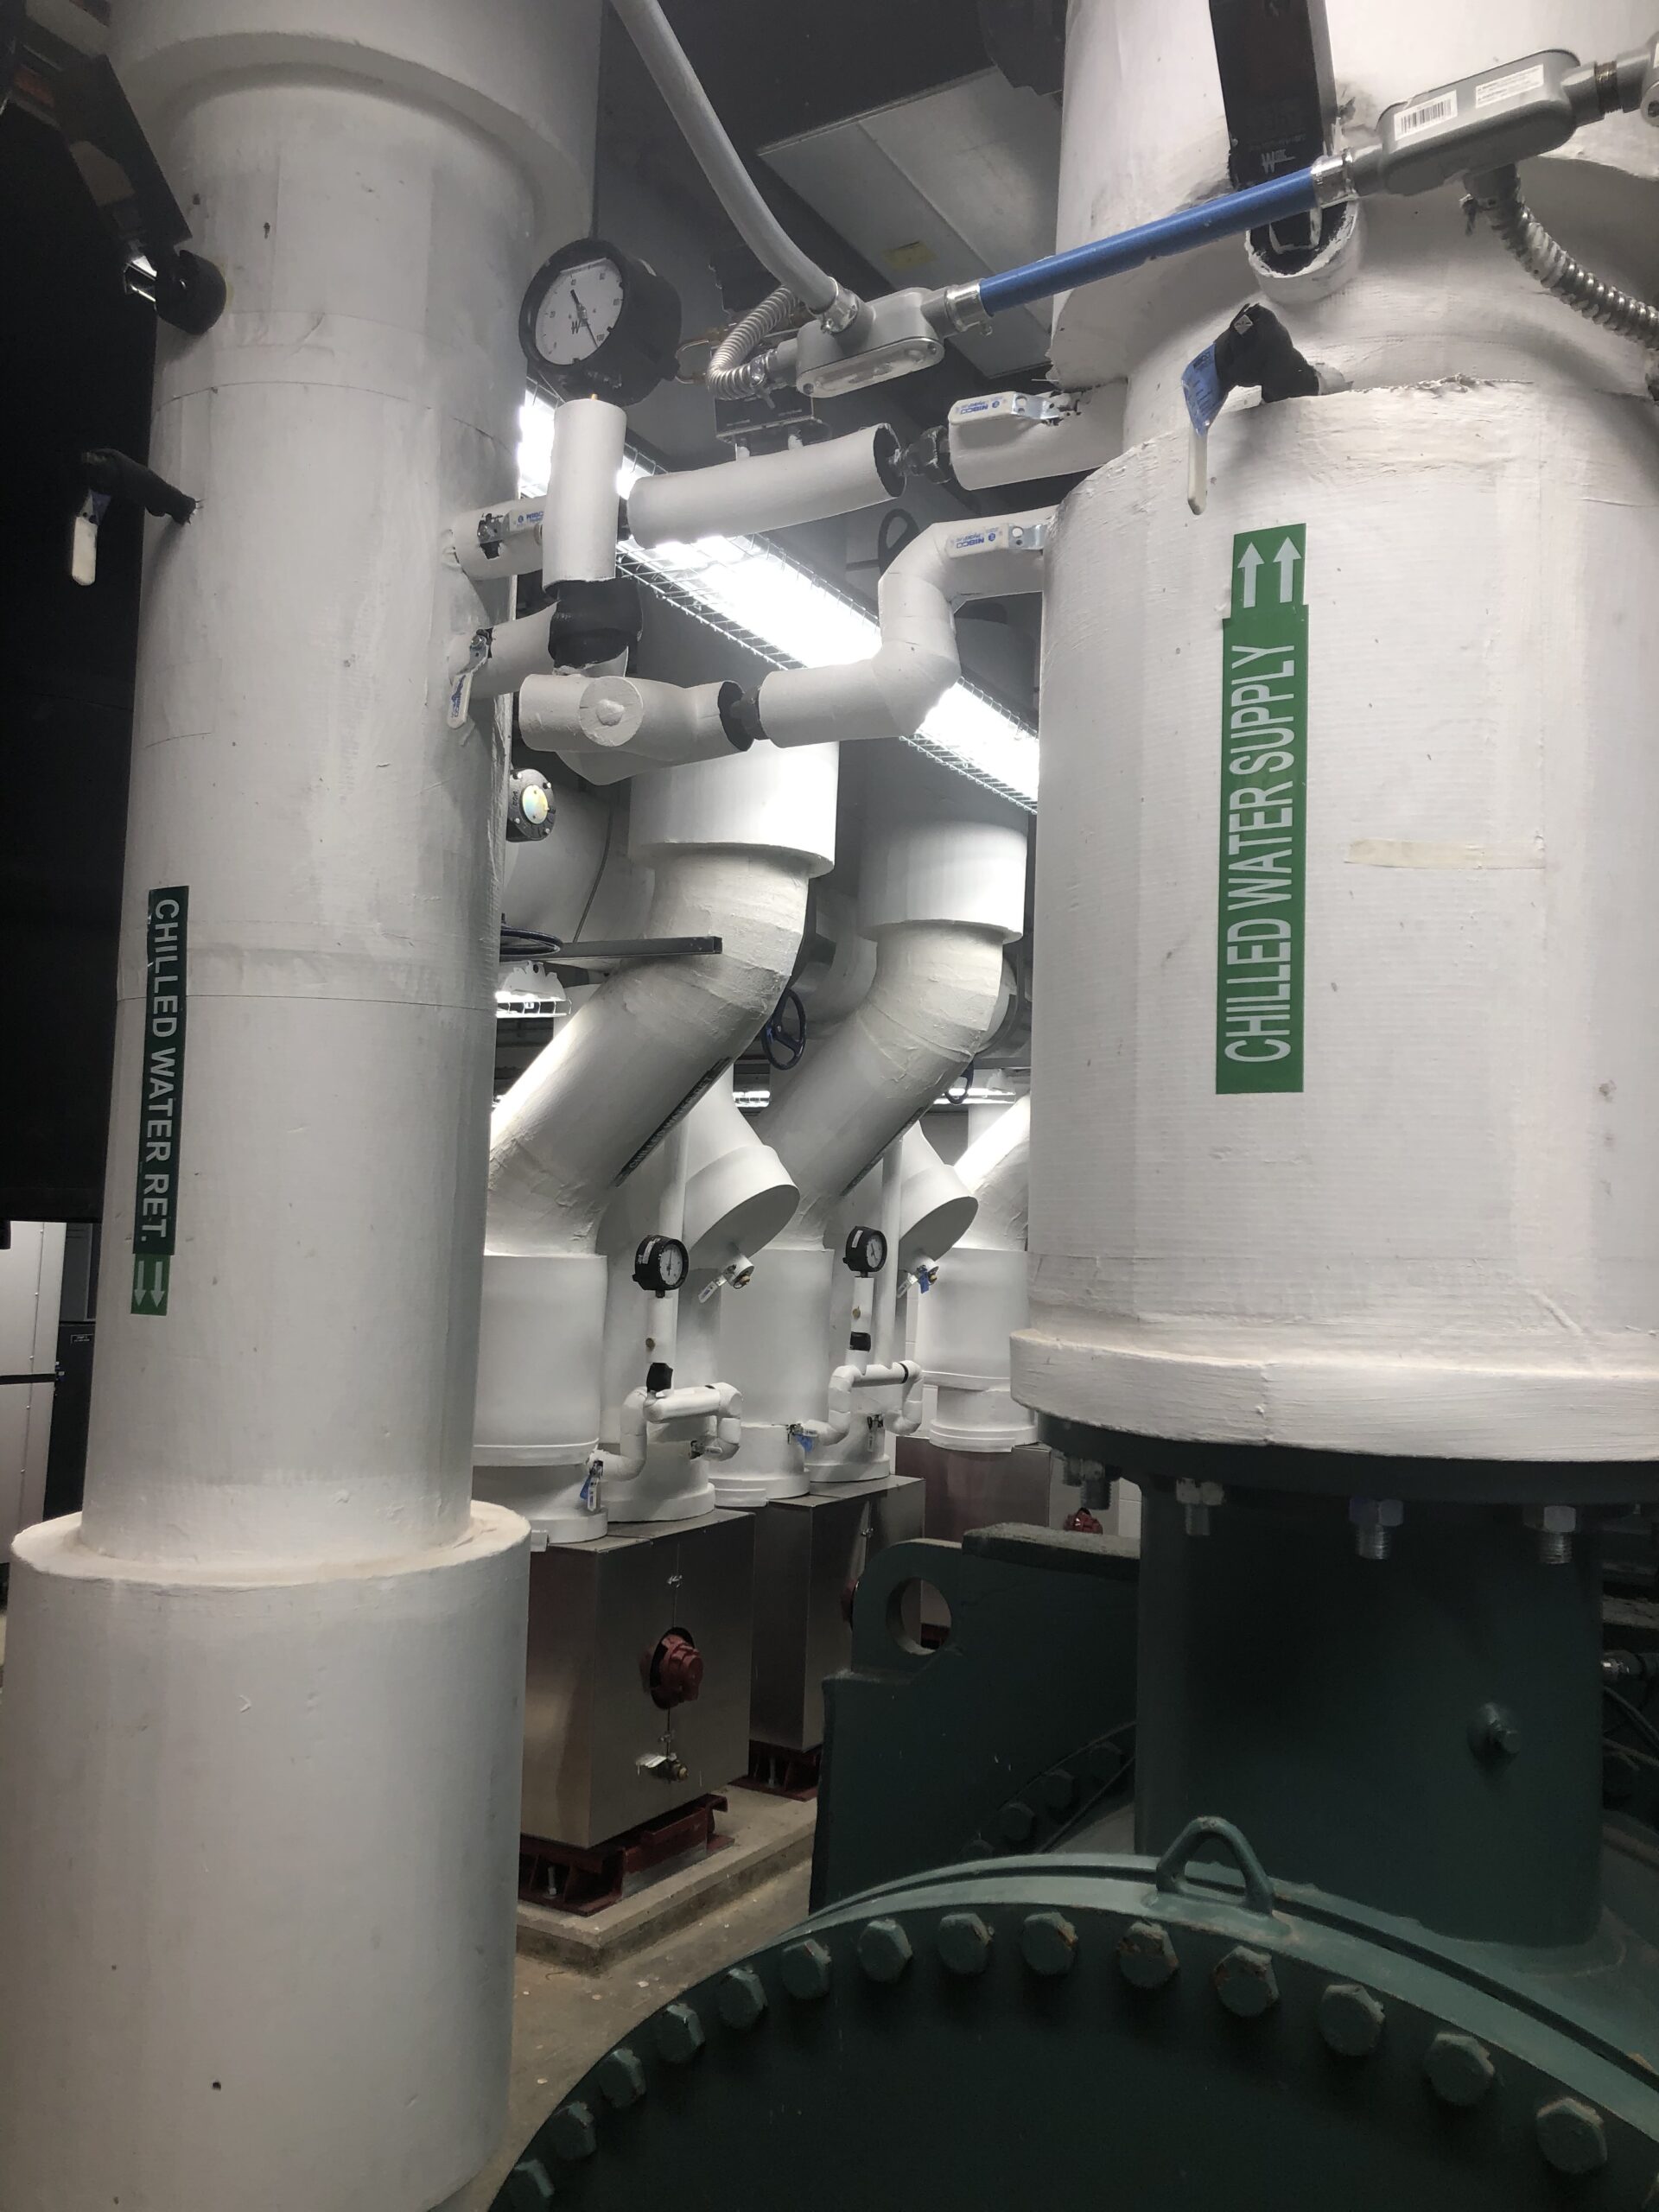
A Guide to Chilled Water Pipe Insulation

Insulation is essential for keeping chilled water at 40 °F. At the same time, it can cause a host of problems, some potentially very expensive. Avoiding these requires an understanding of the problem and the correct selection and installation of chilled water pipe insulation.
The Condensation Problem
Ambient air holds water in vapor form. The amount of water vapor it holds is described in terms of humidity. Warmer air holds more water than cold air, which is why tropical air has that damp, humid feeling.
Problems begin when the warm air cools. Colder air can’t hold as much water vapor, so the excess condenses out as water. This is why you’ll see water on the surface of a chilled water line: as it’s colder than the ambient air, water condenses on the surface.
Water promotes corrosion and provides an environment where mold can flourish. Once it gains a foothold, the insulation and pipework will inevitably need replacing. What’s more, the water will drip onto and corrode hangers before wetting whatever is below. Once there it creates unsightly stains and perhaps more serious damage.
From Wet to Dry
Insulation around the pipe keeps warm, moist air away from the cold surface, but there is a problem. Just as warmth flows from hot regions to those that are colder, so water vapor moves from moist to dry regions. This effect is known as vapor pressure drive.
Vapor pressure drive pushes moist air into dry pipe insulation. This vapor moves through the insulation until it reaches the cold pipe, at which point it condenses.
Condensation is bad, but there’s an additional factor. Water is a much better thermal conductor than air. That means, as the insulation around, and particularly under, the pipe becomes wet, it loses its ability to prevent heat from flowing into the chilled water. Even before corrosion starts causing problems, reduced insulating efficiency will affect cooling system performance.
Chilled Water System Design Considerations
When planning a chilled water system it’s essential to consider how condensation will be managed. Not doing this will lead to premature failure of water line components, and may even cause serious structural issues within the building. If this happens, the cost of remediation could be many times the initial installation costs.
Three areas to consider are:
- Local environmental conditions
- Insulating material selection
- Installation issues
Local Environmental Conditions
A common mistake is to consider only average high temperatures and relative humidity. Doing so will almost certainly lead to condensation problems in more extreme weather. Instead, design for the worse case scenarios.
Remember also that while humidity is a known problem in coastal regions, and especially in the south, the presence of lakes and rivers means inland areas can also experience high levels.
Third, while the building is under construction conditions can be quite different from those experienced after it goes into service. Once in use most of the pipes will be in the air-conditioned interior and so subject to controlled temperatures and humidity. Pipes running through service areas like parking garages are the exception. However, during construction insulation could experience the worst humidity an area has to offer.
Insulating Material Selection
Permeability is a measure of how easily water vapor can move through a material. Selecting a low permeability material counters the vapor pressure drive and helps keep the pipe dry. Closed-cell and glass materials generally provide low permeability. Conversely, open-cell materials are often much more permeable.
In addition, the insulation should be protected by a vapor-retarding material. Typically, this is a polymer that resists the vapor pressure, unless it gets damaged.
Damage is prevented, or at least reduced, by enclosing the insulation and vapor retarding layer inside a protective jacket. This is usually fabricated from sheet metal.
Installation Considerations
Suitable materials and thickness of insulation are only part of the answer to condensation: the other aspect is installation. Faulty installation will leave gaps through which vapor can enter, negating all the good work done and money spent on materials.
Some specialists advise starting by coating metal pipes in corrosion-resistant paint. This adds cost but can also extend life.
Joints in the insulation, vapor retarding layer, and protective jacket must all be sealed against moisture ingress. Staples must be avoided as these create punctures that let vapor in.
It’s also good practice to use vapor dams at elbows and tees and spaced throughout straight pipe runs. These stop vapor from traveling sideways or axially along the pipe. If the insulation gets damaged, these limit the impact to a relatively short length.
Maintaining Chilled Water Line Insulation
If the protective jacket gets damaged or is removed for maintenance or repair work, condensation will start causing problems immediately. Regular inspections are strongly recommended, and any damage must be repaired quickly to prevent moisture ingress. Likewise, any joints that appear to be failing should be addressed promptly.
It’s common to remove insulation for work on valves. Once the work is finished the insulation should be reinstalled to the same high standard employed during the original construction.
Partner With Chilled Water Pipe Insulation Specialists
Chilled water line insulation should never be an afterthought because it plays a big part in cooling system performance and building longevity. Expert material selection and professional installation will lower cooling and maintenance costs and help reduce the need for costly repairs.
If you’re planning a new cooling system or have chilled water lines where the insulation needs inspection and repair, click below to get a quote now